Fixing Common Issues With the iOS Keyboard
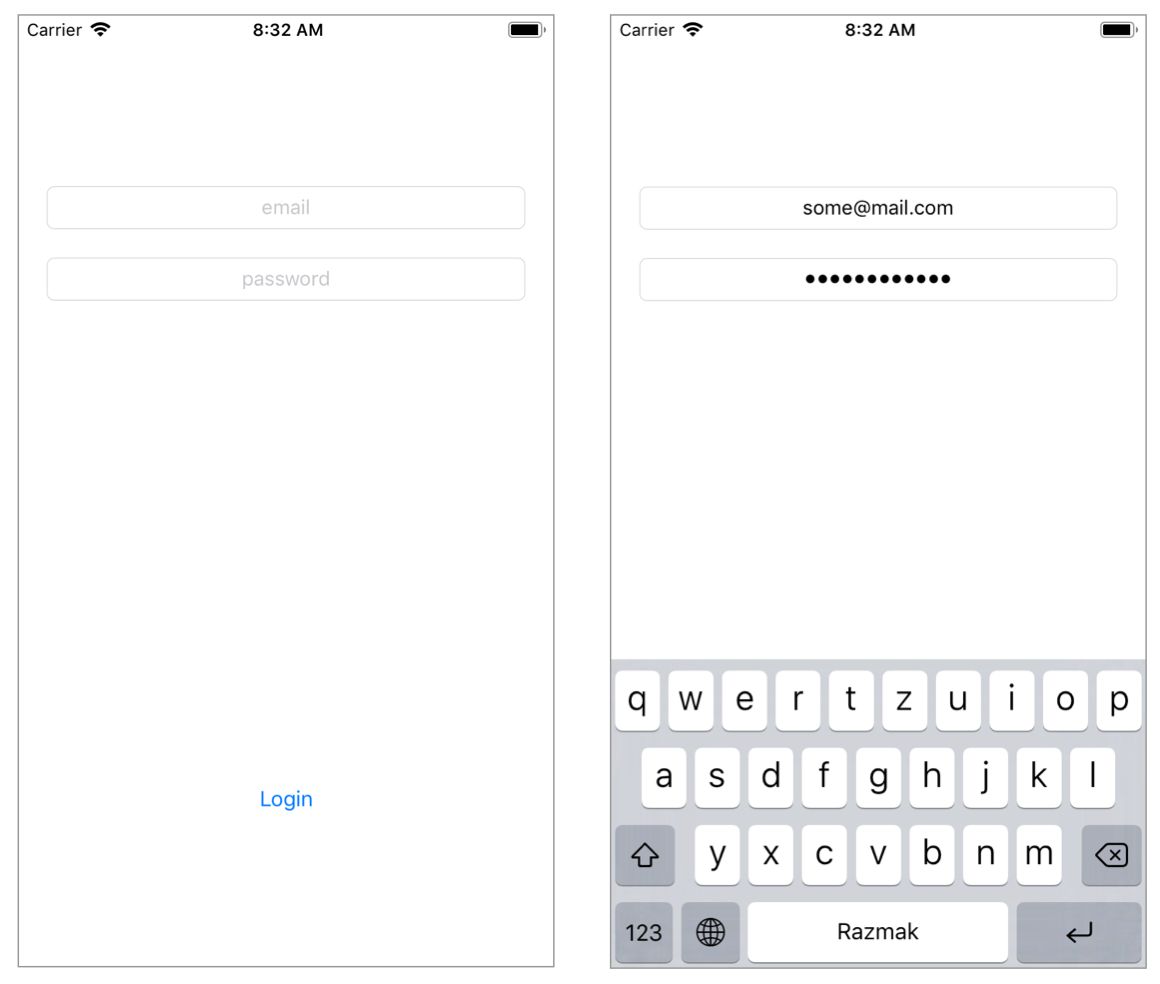
Dealing with the keyboard on iOS can be a tricky task. The keyboard often hides important buttons or information or hides part of a scroll view. I can't log into my mobile banking app on an iPhone SE, because the keyboard pops up over the "Login" button. You don't want those kinds of issues! In this tutorial, you'll see how to observe when the keyboard rises and falls, and how to adjust buttons and scroll views accordingly.

Here are the two most common issues that can happen when a keyboard appears:
- The keyboard covers a vital button, like the "Login" button in the example above. If you don't have a way to dismiss the keyboard, you have just locked your user out of using the app. Even if you can dismiss the keyboard, it's still not a very good user experience to have a button disappear.
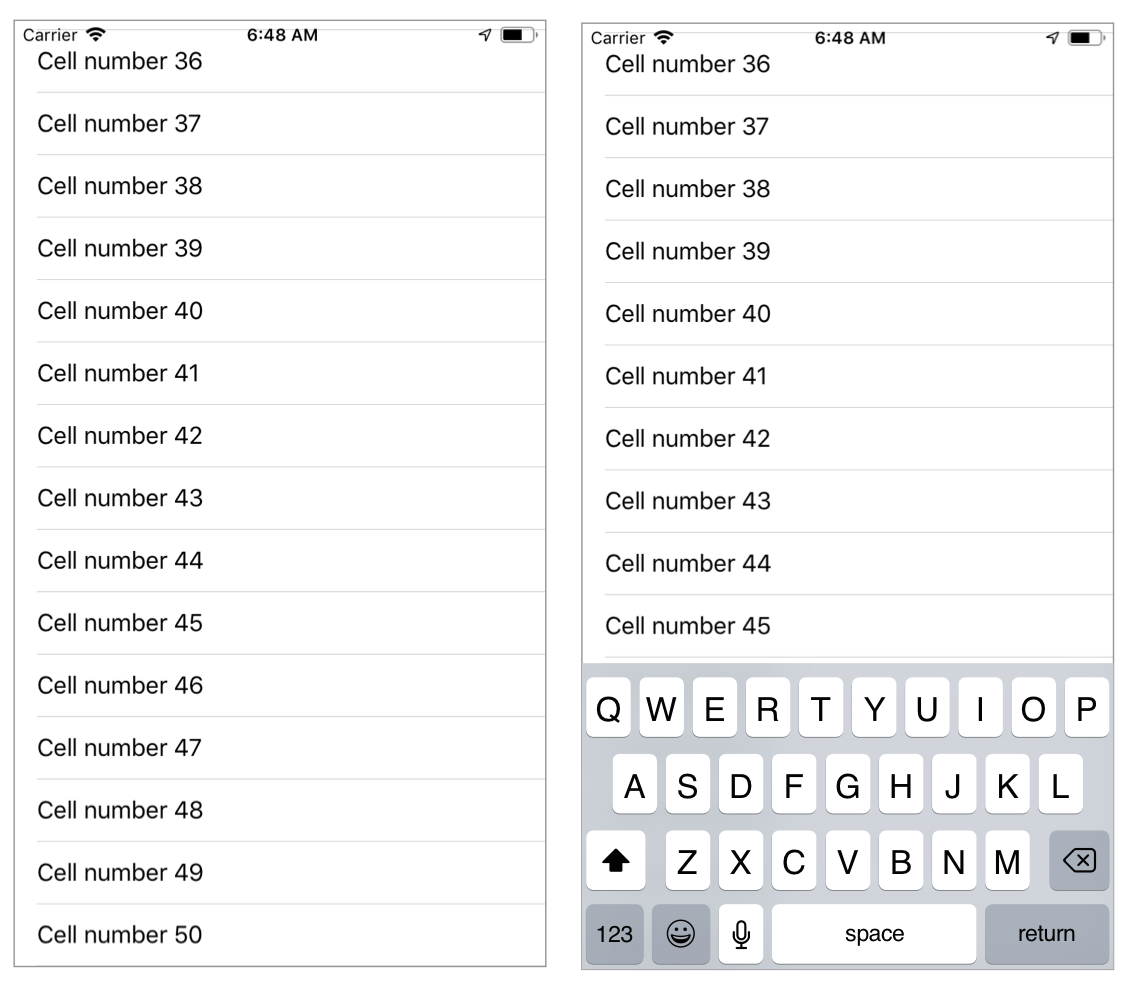
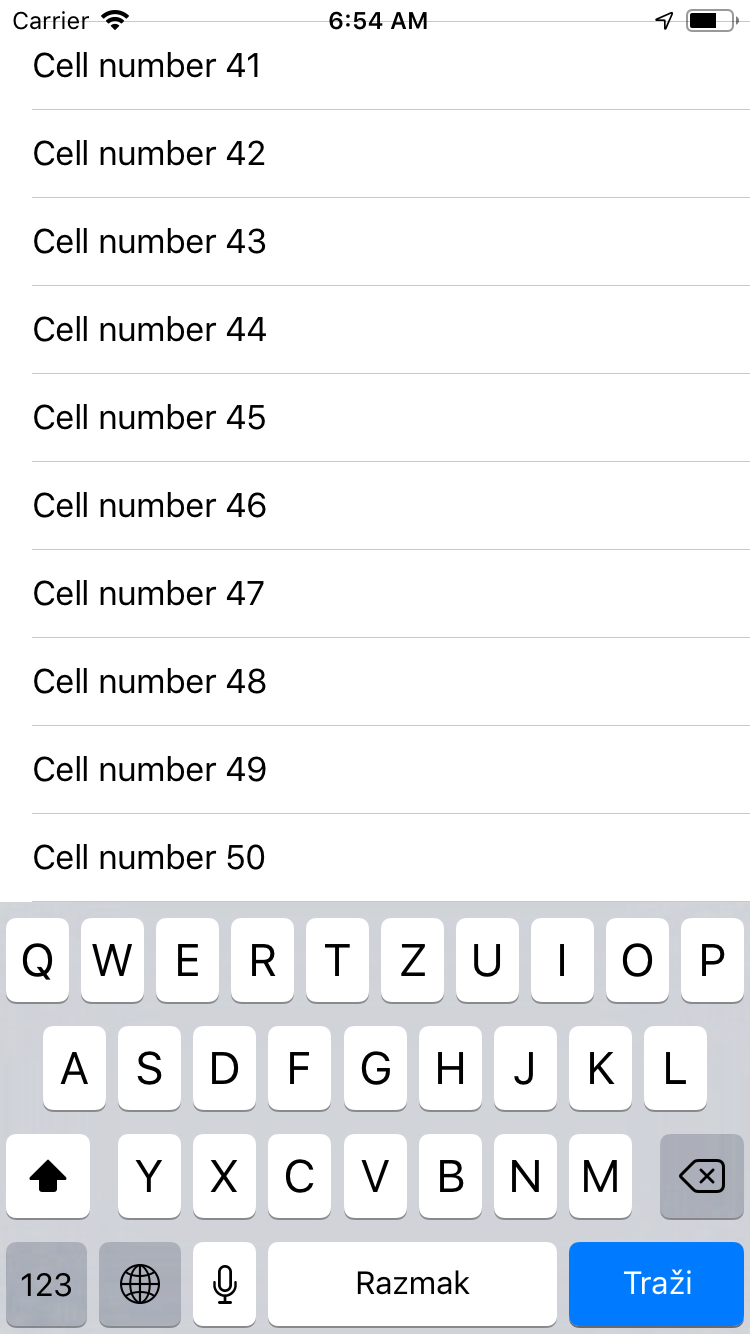
- The keyboard rises above a scroll view, hiding the content on the bottom. The scroll view's bounds will extend underneath the keyboard, making the content on the bottom of the scrollview invisible.

In this tutorial, you'll find out how to fix these two issues in a general, reusable, and protocol-oriented way. The solution you will make will apply to almost any screen in your app.
Fixing the second issue is easy. You need to observe when the keyboard appears and get its height. Once you have the height you can increase the scroll view's content insets by that height. This adds padding to the bottom of the scroll view, so everything that was covered by the keyboard is pushed up.

To fix the issue with the keyboard covering a button, there are two things you can do:
- Make the whole screen scrollable, and then do the same things as mentioned above for the scroll view problem.
- Push the button up (by manipulating its constraints or frame) so that it's no longer being covered by the keyboard. This will only work if you have space for all your UI elements above the keyboard. It also might require changing the margins of all the views so that the whole screen is more compact.
Let's see these solutions in action!
The Apple Way
The default ways Apple gives us to deal with this are cumbersome. To observe the keyboard rising, you need to subscribe to the keyboardDidShowNotification.
class ViewController: UIViewController {

  override func viewDidLoad() {
    super.viewDidLoad()
    NotificationCenter.default.addObserver(
      self,
      selector: #selector(keyboardWasShown),
      name: UIWindow.keyboardDidShowNotification,
      object: nil)
  }

  @objc func keyboardWasShown(_ notification: NSNotification) {

  }
}
Once you have the NSNotification, you can fetch the keyboard's size from the userInfo property of the notification. The key which holds the size is keyboardFrameEndUserInfoKey. This gives you the frame of the keyboard at the end of the rising animation. You can also track each frame change, as well as see the frame at the start of the animation. There aren't very useful to us, so we'll stick with the end frame.
@objc private func keyboardWasShown(_ notification: NSNotification) {
  let key = UIResponder.keyboardFrameBeginUserInfoKey
  guard let frameValue = notification.userInfo?[key] as? NSValue else {
    return
  }

  let frame = frameValue.cgRectValue
}
If you're dealing with a scroll view, once you have the frame it's easy enough to increase its bottom inset. Simply add the following lines to the end of keyboardWasShown:
scrollView.contentInset.bottom = frame.size.height
scrollView.scrollIndicatorInsets.bottom = frame.size.height
If you're dealing with a hidden button, the exact steps to fix the issue depend on your specific UI. The general gist is that you have to raise the button by a certain amount so that it's visible. In other words, the button's offset from the bottom of the screen needs to be greater than (or equal) to the keyboard's height.
You also have to undo these changes once the keyboard goes back down. To do this, you can observe a second notification, keyboardWillHideNotification. This notification will get triggered before the keyboard hides. Add the following lines to the bottom of viewDidLoad:
NotificationCenter.default.addObserver(
   self,
   selector: #selector(keyboardWasShown),
   name: UIResponder.keyboardWillHideNotification,
   object: nil)
Next, add the following method to the class:
@objc func keyboardWillHide() {
  scrollView.contentInset.bottom = 0
  scrollView.scrollIndicatorInsets.bottom = 0
}
Since we know that the keyboard's height is going back to zero, there's no need to fetch the frame this time. Simply reset the insets to their initial values.
And that's it! Our screen now no longer has any issues.

While this solution works, it's not convenient. Having to write these boilerplate lines over and over again for every screen will get pretty tiring. Thankfully, we can use some cool Swift features to reduce the boilerplate to a minimum.
A Nicer Way
Like a good Swift developer, we'll start with a protocol!
public protocol KeyboardObserving: class {
  func keyboardWillShow(withSize size: CGSize)
  func keyboardWillHide()
}
Anyone who is interested in getting notified when the keyboard appears can implement this protocol. We'll hide the protocol's logic in an extension which will subscribe to the notifications. Coming up is a lengthy block of code but don't panic: you've already seen most of this code earlier in the tutorial.
extension KeyboardObserving {

  public func addKeyboardObservers(to notificationCenter: NotificationCenter) {
    notificationCenter.addObserver(
      forName: UIResponder.keyboardWillShowNotification,
      object: nil,
      queue: nil,
      using: { [weak self] notification in
        let key = UIResponder.keyboardFrameEndUserInfoKey
        guard let keyboardSizeValue = notification.userInfo?[key] as? NSValue else {
          return;
        }

        let keyboardSize = keyboardSizeValue.cgRectValue
        self?.keyboardWillShow(withSize: keyboardSize.size)
    })
    notificationCenter.addObserver(
      forName: UIResponder.keyboardWillHideNotification,
      object: nil,
      queue: nil,
      using: { [weak self] _ in
        self?.keyboardWillHide()
    })
  }

  public func removeKeyboardObservers(from notificationCenter: NotificationCenter) {
    notificationCenter.removeObserver(
      self,
      name: UIResponder.keyboardWillHideNotification,
      object: nil)
    notificationCenter.removeObserver(
      self,
      name: UIResponder.keyboardWillShowNotification,
      object: nil)
  }
}
This is the same code as in the view controller before. The difference is that anyone who implements the protocol can use these functions. We can reduce a lot of our view controller's code this way.
class ViewController: UIViewController, KeyboardObserving {

  @IBOutlet var scrollView: UIScrollView!

  override func viewDidLoad() {
    super.viewDidLoad()
    addKeyboardObservers(to: .default)
  }

  func keyboardWillShow(withSize size: CGSize) {
    scrollView.contentInset.bottom = size.height
    scrollView.scrollIndicatorInsets.bottom = size.height
  }

  func keyboardWillHide() {
    scrollView.contentInset.bottom = 0
    scrollView.scrollIndicatorInsets.bottom = 0
  }

  deinit {
    removeKeyboardObservers(from: .default)
  }
}
That's 10 lines of code less just in this one view controller. You'll probably want to observe the keyboard in many screens in your app, so this little bit of extra work pays off immensely!
Going a Step Further
Setting the scroll view's content insets when the keyboard appears is a frequent requirement. You'll have to do this in almost any screen that combines a keyboard and a scroll view. Why not go a step further without protocols, and define one for that specific use case.
public protocol ScrollViewKeyboardObserving: KeyboardObserving {
  var keyboardObservingScrollView: UIScrollView { get }
}
Swift lets us inherit from protocols. Since we're making a specific case of the KeyboardObserving protocol, it makes sense to inherit from it. Our only requirement is that the implementer of the protocol exposes a scroll view that we can set insets on.
Next, we'll define an extension that does the same thing as in our view controller.
extension ScrollViewKeyboardObserving {
  func keyboardWillShow(withSize size: CGSize) {
    keyboardObservingScrollView.contentInset.bottom = size.height
    keyboardObservingScrollView.scrollIndicatorInsets.bottom = size.height
  }

  func keyboardWillHide() {
    keyboardObservingScrollView.contentInset.bottom = 0
    keyboardObservingScrollView.scrollIndicatorInsets.bottom = 0
  }
}
This extension implements the KeyboardObserving protocol, so anyone that conforms to ScrollViewKeyboardObserving will automatically conform to that protocol.
Going back to our view controller, we can rewrite it as the following:
class ViewController: UIViewController, ScrollViewKeyboardObserving {

  @IBOutlet var scrollView: UIScrollView!

  var keyboardObservingScrollView: UIScrollView {
    return scrollView
  }

  override func viewDidLoad() {
    super.viewDidLoad()
    addKeyboardObservers(to: .default)
  }

  deinit {
    removeKeyboardObservers(from: .default)
  }
}
Reducing even more lines of code. We used Swift features like protocol-oriented programming, extensions and inheritance to reduce our boilerplate to an absolute minimum. Dealing with scroll views is now a simple task of declaring a variable and calling two functions.
Why Bother?
The original solution worked fine, so why go through the trouble of making things reusable? Well, first of all, we have fewer lines of code. Since code is the single largest source of bugs, reducing the number of code reduces bugs. We also have a single point to change, refactor and debug the behaviour. If the code were copied and pasted into a bunch of view controllers, it would have been a pain to fix a bug in each instance of the code.
Making things reusable makes life easier on both you and other developers reading your code. There's no reason why you should make your life harder: always think of coding things in the most general way you can.